
Ikea Greenhouse Guide: RUDSTA Tall
This blog post features affiliate links, meaning I’ll earn a small commission if you purchase through these links.
NOTE: This blog post was originally published in January of 2022 after having my greenhouse cabinet for 6 months. At the time of writing this edit (March 2023), some prices have changed and I’ve updated the layout of the cabinet. I plan on providing some substantive updates soon!
——
I'm going to be diving right into some plant-y content to start the new year: here's how I turned an Ikea RUDSTA display cabinet into an indoor greenhouse! The Ikea greenhouse trend has been steadily growing over the last couple of years, but really exploded in 2020 when a lot of us were stuck at home. I know my houseplant hobby morphed from a casual interest to a full-blown obsession during the pandemic, and I've collected a lot of beautiful specimens. So when it came time to think about bringing them all inside for the fall and winter this year, I started to research my own greenhouse build.
The MILSBO cabinet from Ikea seems to be the most popular model to hack, but not only is one of Ikea's most expensive cabinets (around $250 at the time of writing this), but it has been sold out for months at my "local" store. (I say "local" with quotation marks because the closest Ikea to me is a two-hour drive away.) I decided to go with the tall RUDSTA for a few simple reasons: it's the cheapest glass and metal cabinet offered by Ikea ($89 at the time of purchase) and was actually available. I found that there aren't many conversion resources online specifically for the RUDSTA tall, so I hope this guide is helpful for anyone considering a greenhouse build with this model. By the time it was all said and done, I put together the whole thing for less than the cost of a MILSBO alone. ;)
Disclaimer: I am a plant hobbyist and enthusiast, and a Master Gardener, but I'm not a botanist, engineer or expert of any kind. The following information has been gathered through my own research and trial & error. ~*YMMV*~
Also, some of the links in this post are affiliate links that generate a small amount of income for me when you buy through them.
So, without further ado, here's how I hacked my RUDSTA tall into an indoor greenhouse!
The setup

RUDSTA tall cabinet ($89)
The RUDSTA tall is a bit smaller than some of the other popular cabinets, but it's the most affordable and also fit my space well. It's made entirely out of glass and metal (rather than wood or particle board) which makes it easy to hang things inside with magnets, and it won't rot due to the humidity.
Custom acrylic shelves ($30)
I found custom shelves on Etsy to replace the glass shelves that came with the cabinet. The angled shape and the hole cut-outs improve airflow, which is very important in an enclosed, humid environment. I've seen other folks use wire shelving, but I couldn't find any that readily fit the RUDSTA tall without modification.
Wire grid ($14)
I bought a 2-pack of these black wire panels to hang inside the cabinet to help maximize space. It took a while to find some that fit the dimensions of the tall RUDSTA-- note the measurements if you have a different cabinet.
Wire grid accessories ($13)
You can get all sorts of wire cups, shelves, racks, etc to hang from your wire grid. I only have this one small shelf, but there are a lot of options available on Amazon if you want to get crazy with accessories.
Fan(s) ($11)
Airflow is very important in the greenhouse, especially if you want to maintain high humidity. Mold and fungus can begin to grow if there isn't sufficient airflow (more about this below). This USB fan is designed to run for long periods of time and has a lifespan of over 7 years. It's very quiet and the cord is thin enough to run between the gaps in the cabinet with no drilling.
Barrina LED grow light bars ($30)
It took some hunting to find grow lights that would fit the RUDSTA and weren't total pieces of crap! Thankfully I found Barrina. These actually listed the PAR value/PPFD of the lights (I'll get into this below), which most other short lights didn't. They can also be daisy-chained to add more lights without needing another cord or outlet. So far they have proved to be sturdy and long-lasting..
I bought both a set of plain disc magnets and hook magnets to hang basically everything in my cabinet.
Hygrometer ($13)
A hygrometer measures the humidity in the air, and is useful to monitor your cabinet's humidity level and ambient temperature. This model has a magnet on the back, so it can be mounted to the back wall of the cabinet without taking up any space for plants.
Foam weather-stripping tape ($14)
Ikea display cabinets are not well-sealed on their own. Weather-stripping is the most cost-effective way I've found to keep the humidity up in my cabinet. I bought half-inch by half-inch foam tape, and it ended up being a little too thick, so I recommend quarter-inch thick foam tape for the RUDSTA tall instead. There's more detail about weather-stripping below.
Cable management accessories ($15+)
My husband and I happen to have a box full of cords, USB plugs, power strips, etc-- all I bought was a cable management box to keep all of that contained and organized. I'm using one power strip, one USB block, one extension cord, and a smart plug all in tandem (more info on this, again, is below).
TOTAL APPROX. COST: ~$250
My set up is fairly basic. I don't have a heat mat, shelf liners or risers, no fountain or humidifier, and I didn't drill any extraneous holes in the cabinet.
You can choose to spend a lot more money than I did, although I think you might struggle to spend less, unless you can find some things secondhand.
Humidity
Humidity is the number one reason I wanted to build an indoor greenhouse. I mostly collect tropical plants, which thrive in warm, humid conditions. The ambient humidity in my home is in the neighborhood of 50%, and can be even drier in the winter when the central heat is running. I keep my greenhouse cabinet between 70-85% humidity, which is perfect for my anthuriums, philodendrons and alocasias.
I'm able to maintain this level of humidity by utilizing a combination of weather-stripping and the natural transpiration of the plants, but you may need to experiment depending on the conditions in your home and local environment. Some folks in particularly dry climates, or in the wintertime, may find it necessary to use a pebble tray, small fountain or humidifier inside their cabinet to keep the humidity up.
I installed foam weather-stripping tape around the right side of the door frame, and along the top and bottom of the side glass panels, as seen here.
I installed weather-stripping foam tape around the right side of the door frame (so it wouldn't impede opening or closing) and along the top and bottom of the side glass panels. These strategies have been enough to maintain a steady humidity range of 75%-85% during the day in my cabinet. It can go as high as 90% at night.
Regardless of where you live, humidity will be higher in the summer than in the winter, and higher at night than during the day, as plants transpire more at night. While high humidity in the cabinet is important, it goes hand in hand with maintaining proper airflow.
Airflow
Without sufficient ventilation, high humidity can cause mold or rot to develop. There is a lot to know about the relationship between humidity, temperature, and airflow (you can read more about the vapor pressure deficit here)-- and I'm certainly no expert!
To keep it as brief as possible: proper air circulation keeps leaves and potting substrate from staying wet too long. You want enough fan power to circulate air throughout the cabinet without drying out your plants too quickly, which is a delicate balance. JoLovesPlants cites a book called Gardening Under Lights, which recommends complete air circulation in an enclosed grow tent every 3 to 5 minutes, and notes that many USB fans provide a CFM rating (cubic feet per minute) which you can use to determine how many you need. So, if we calculate the approximate internal volume of the RUDSTA tall, here's what we come up with:
3.23 ft x 1.08 ft x 1.25 ft = 4.3 cubic feet
And if we want the air to circulate fully every 3 minutes, here's how we determine the minimum CFM rating our fan must have:
4.3 cubic feet / 3 min = 1.43 CFM (cubic ft/min)
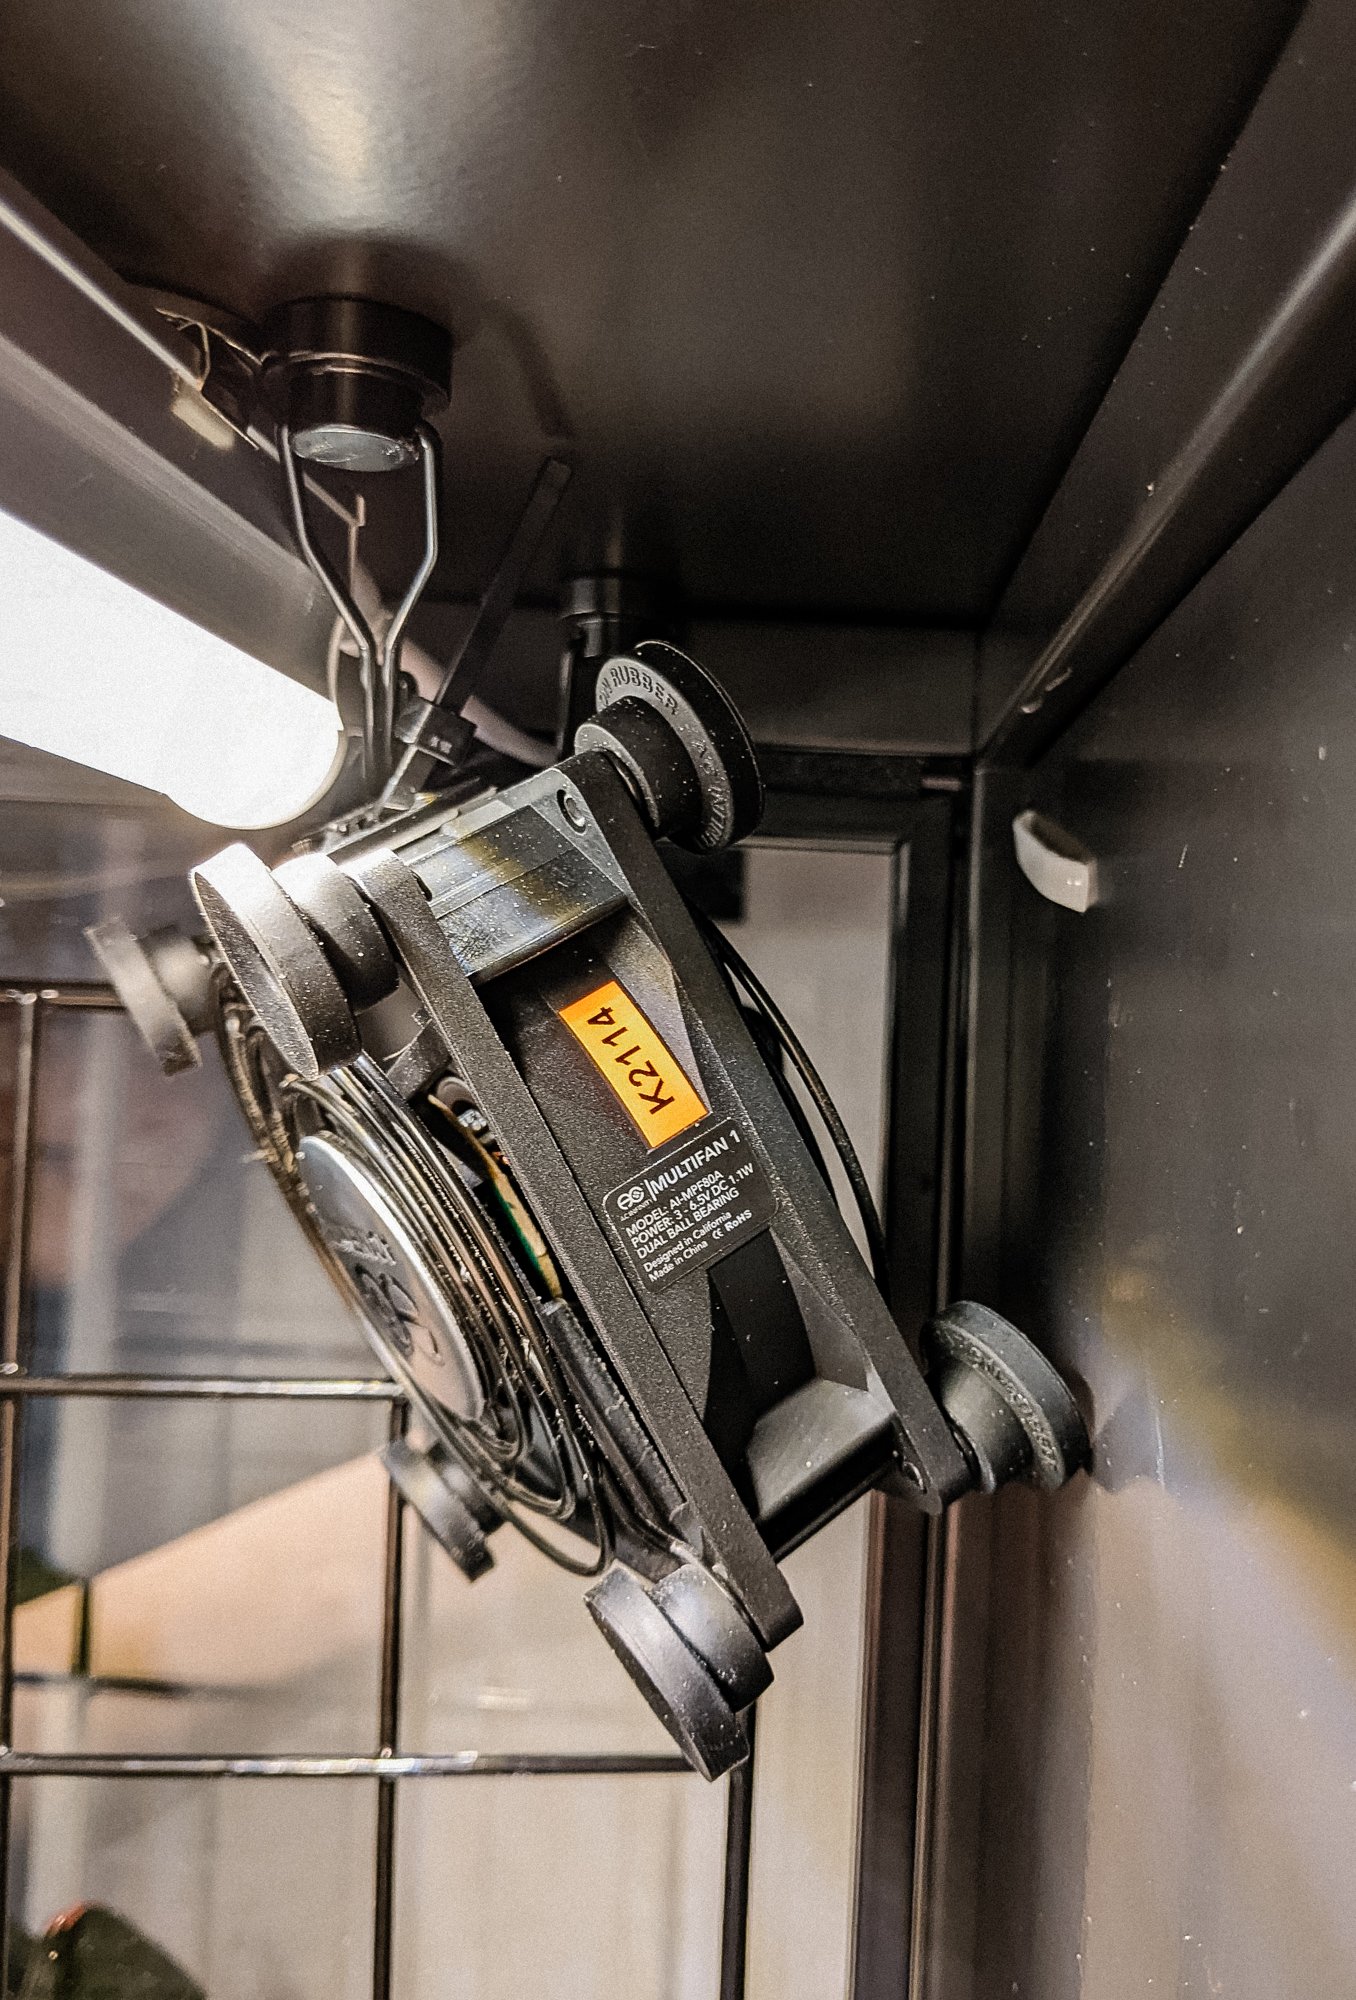
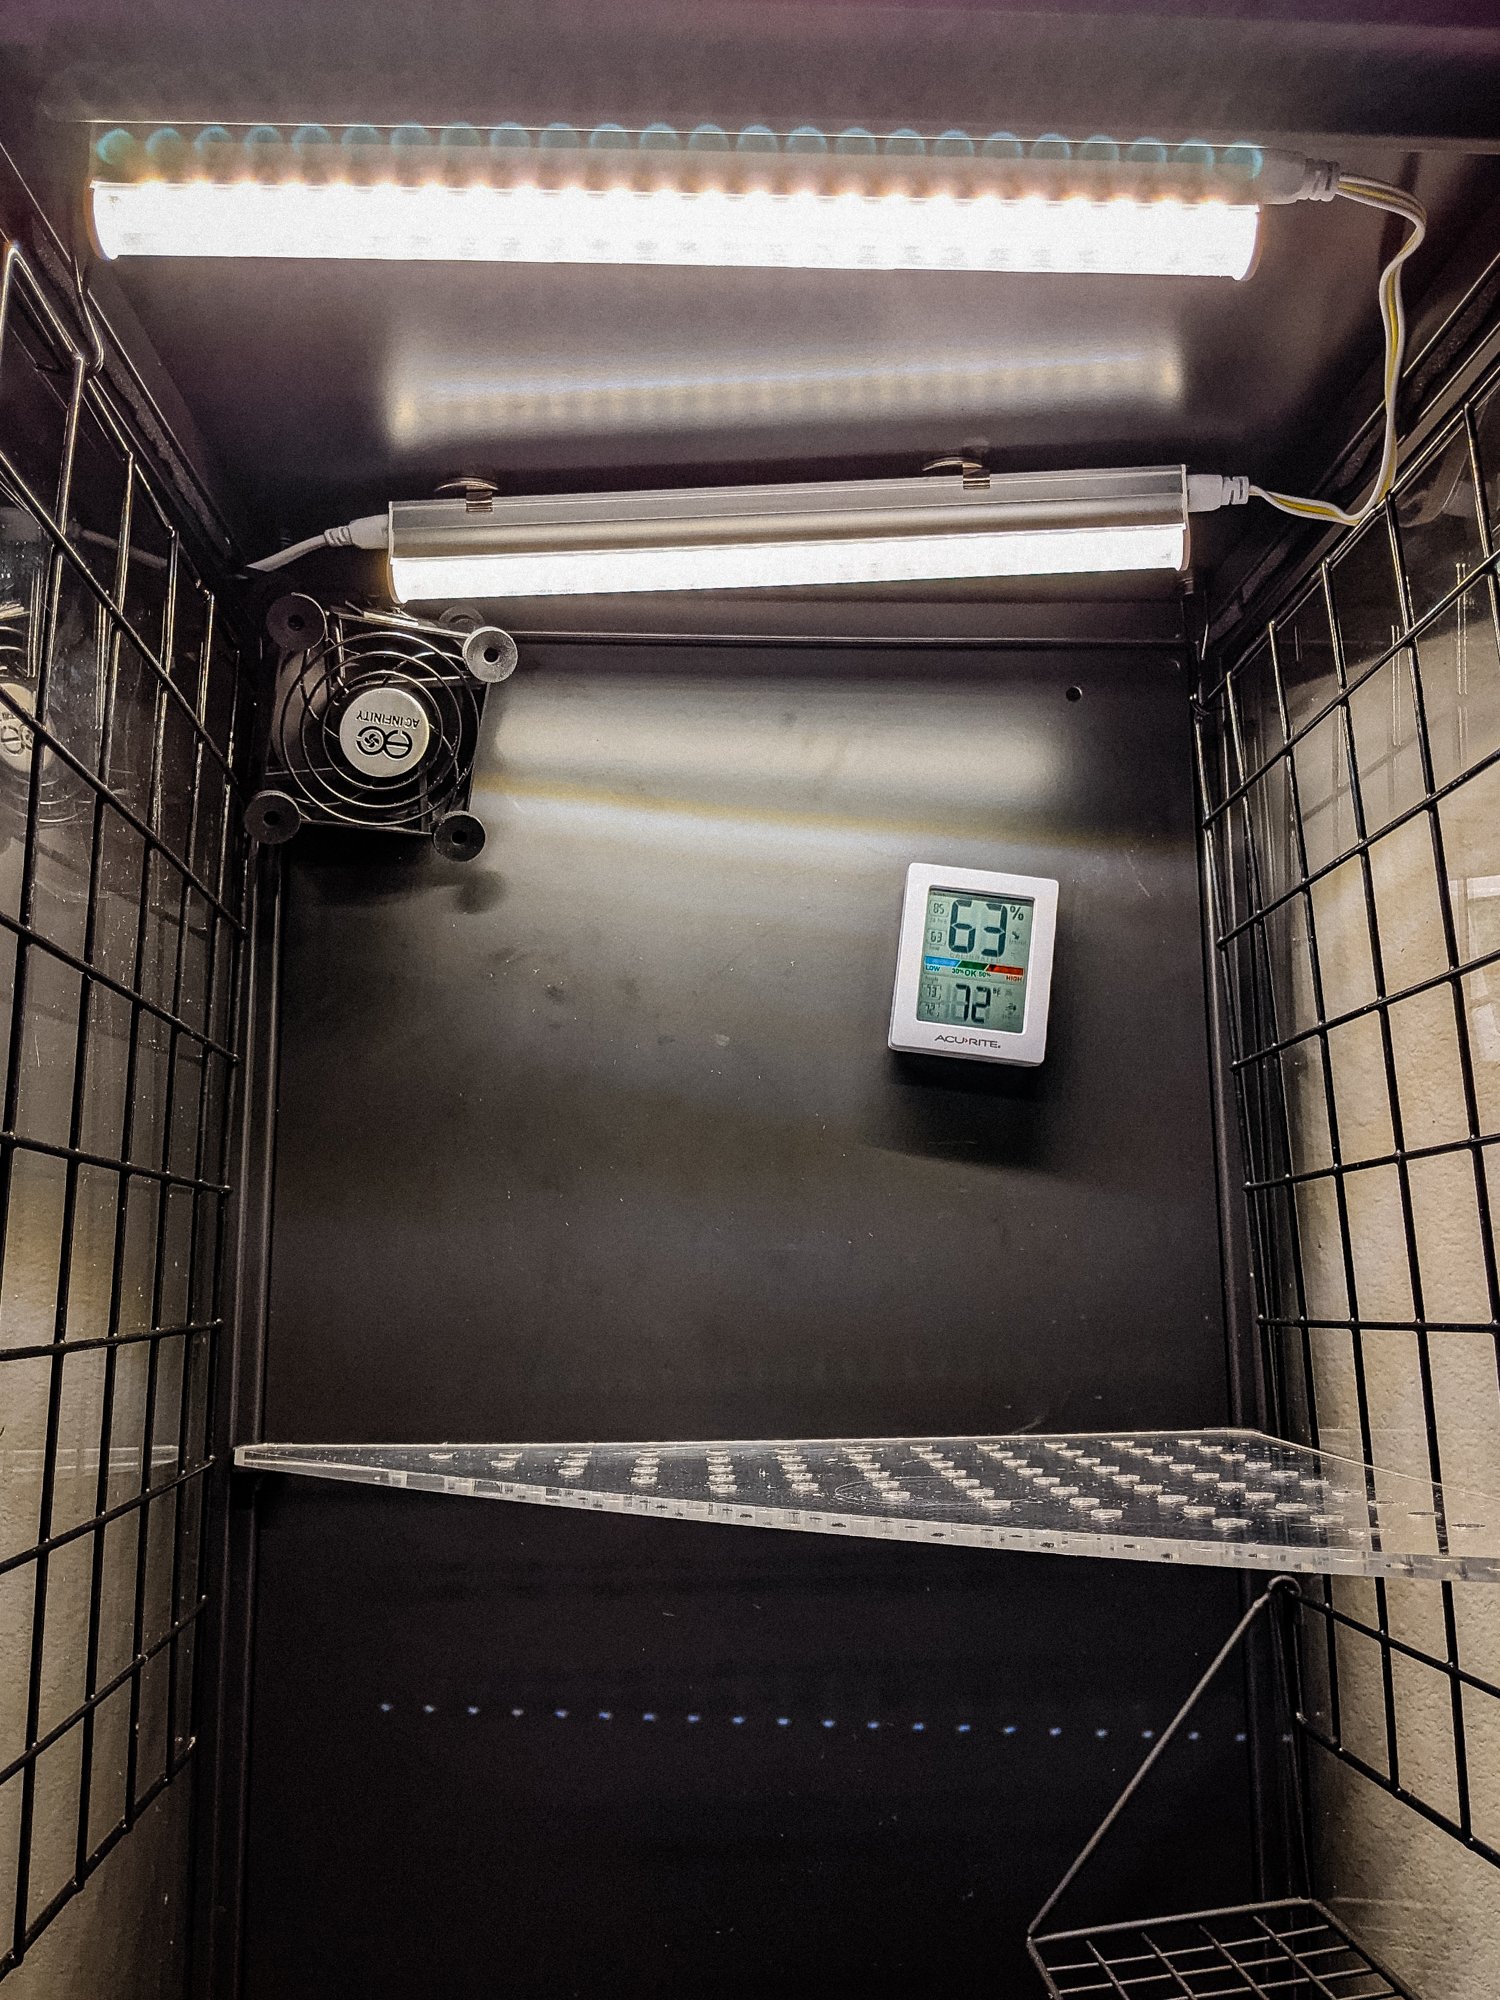
I have one USB fan with a rating of 26 CFM, more than enough for the tall RUDSTA. It's positioned at the top of the cabinet, angled to point the airflow down towards the plants, but without blowing directly on them too much. Make sure there are at least an inch or two of open space behind the fan so it can intake air properly.
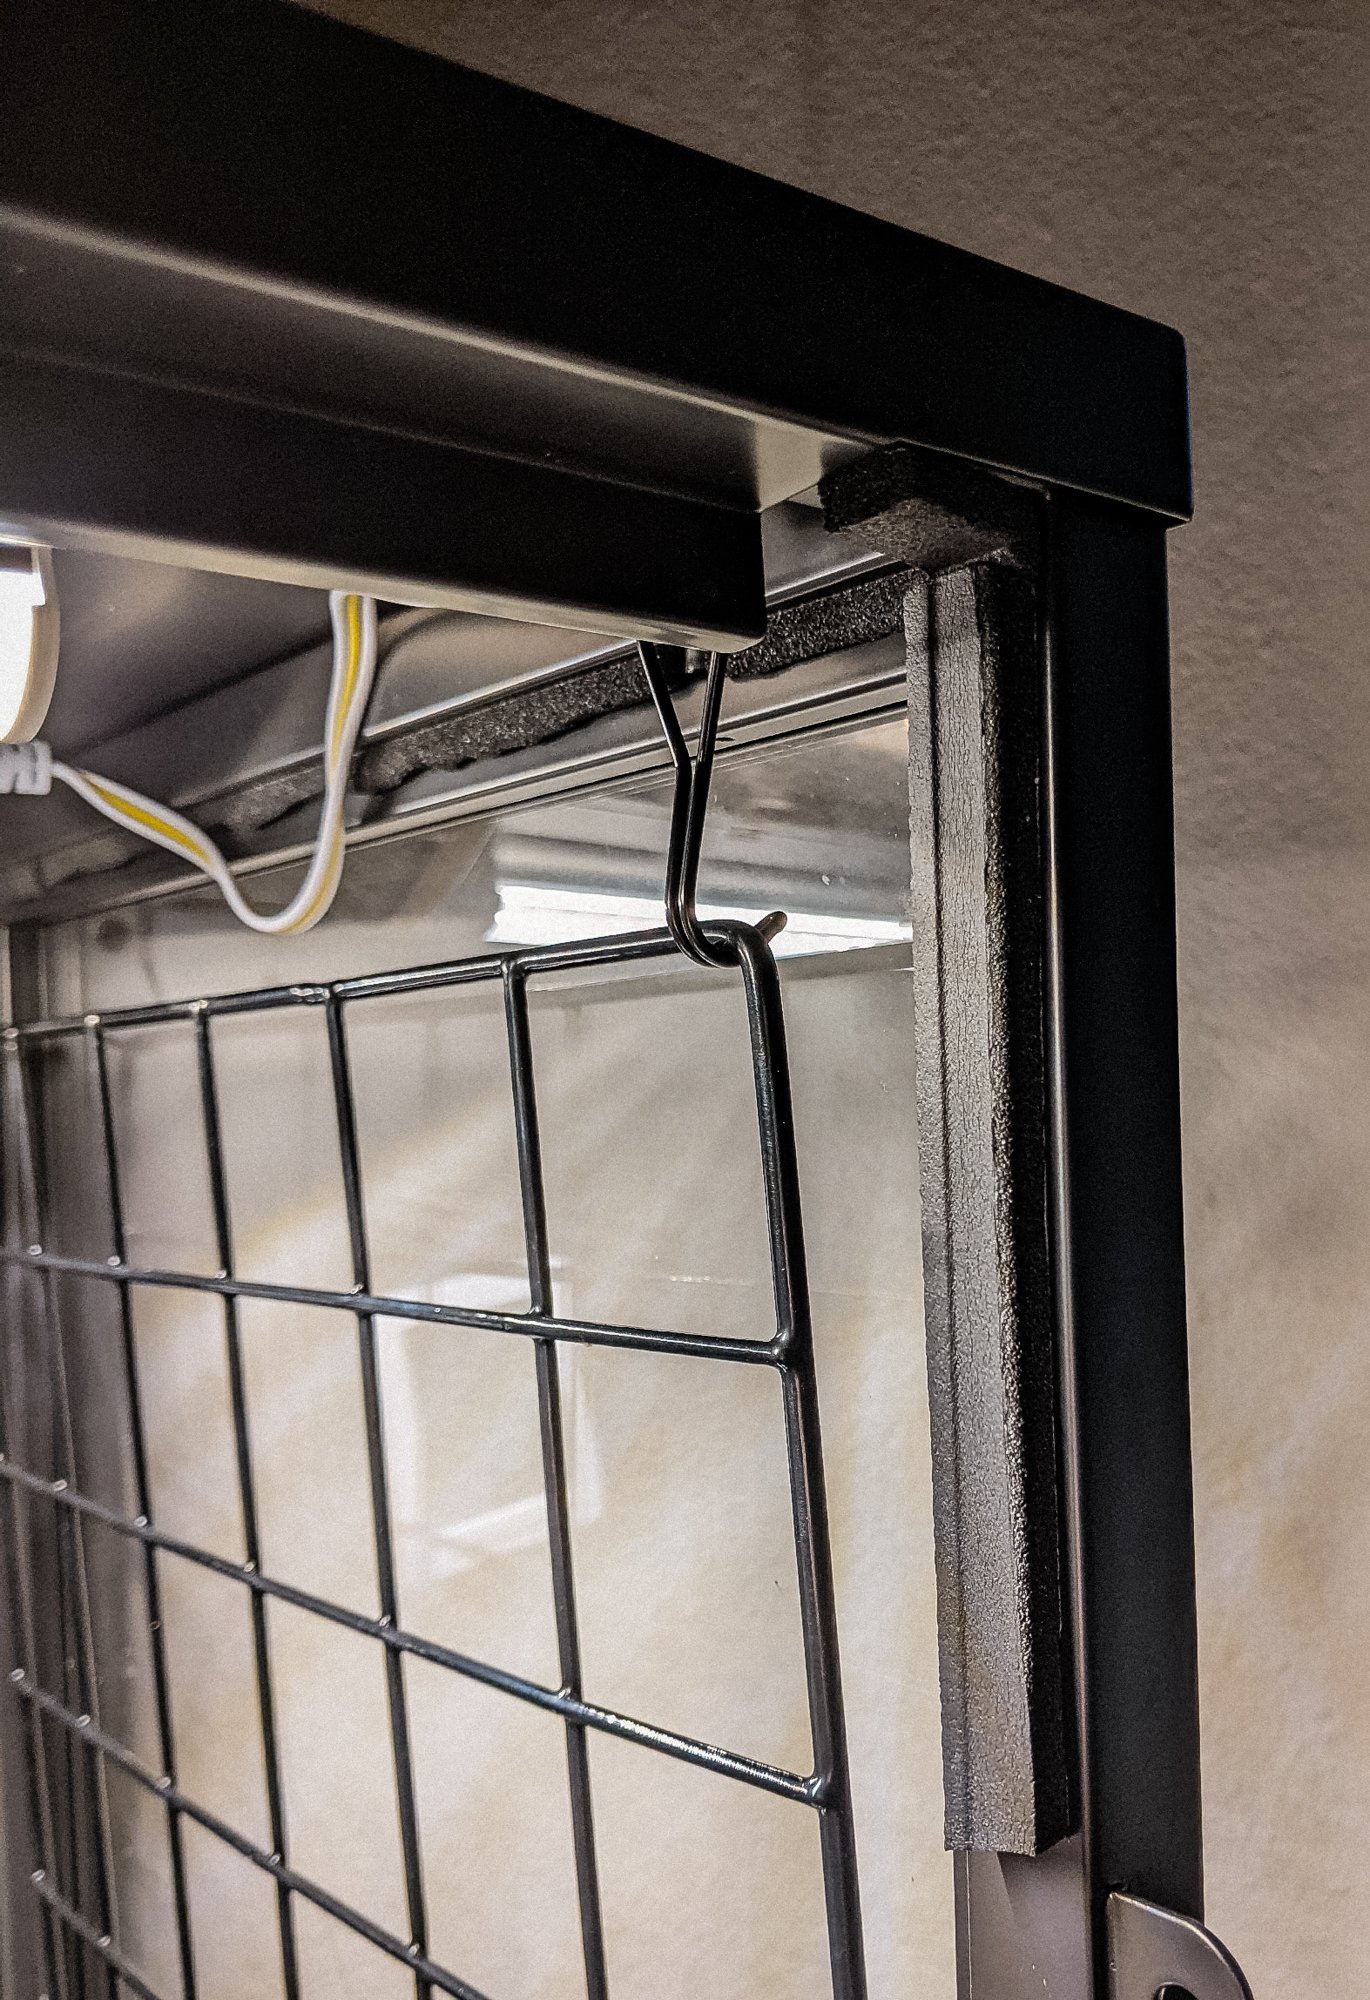
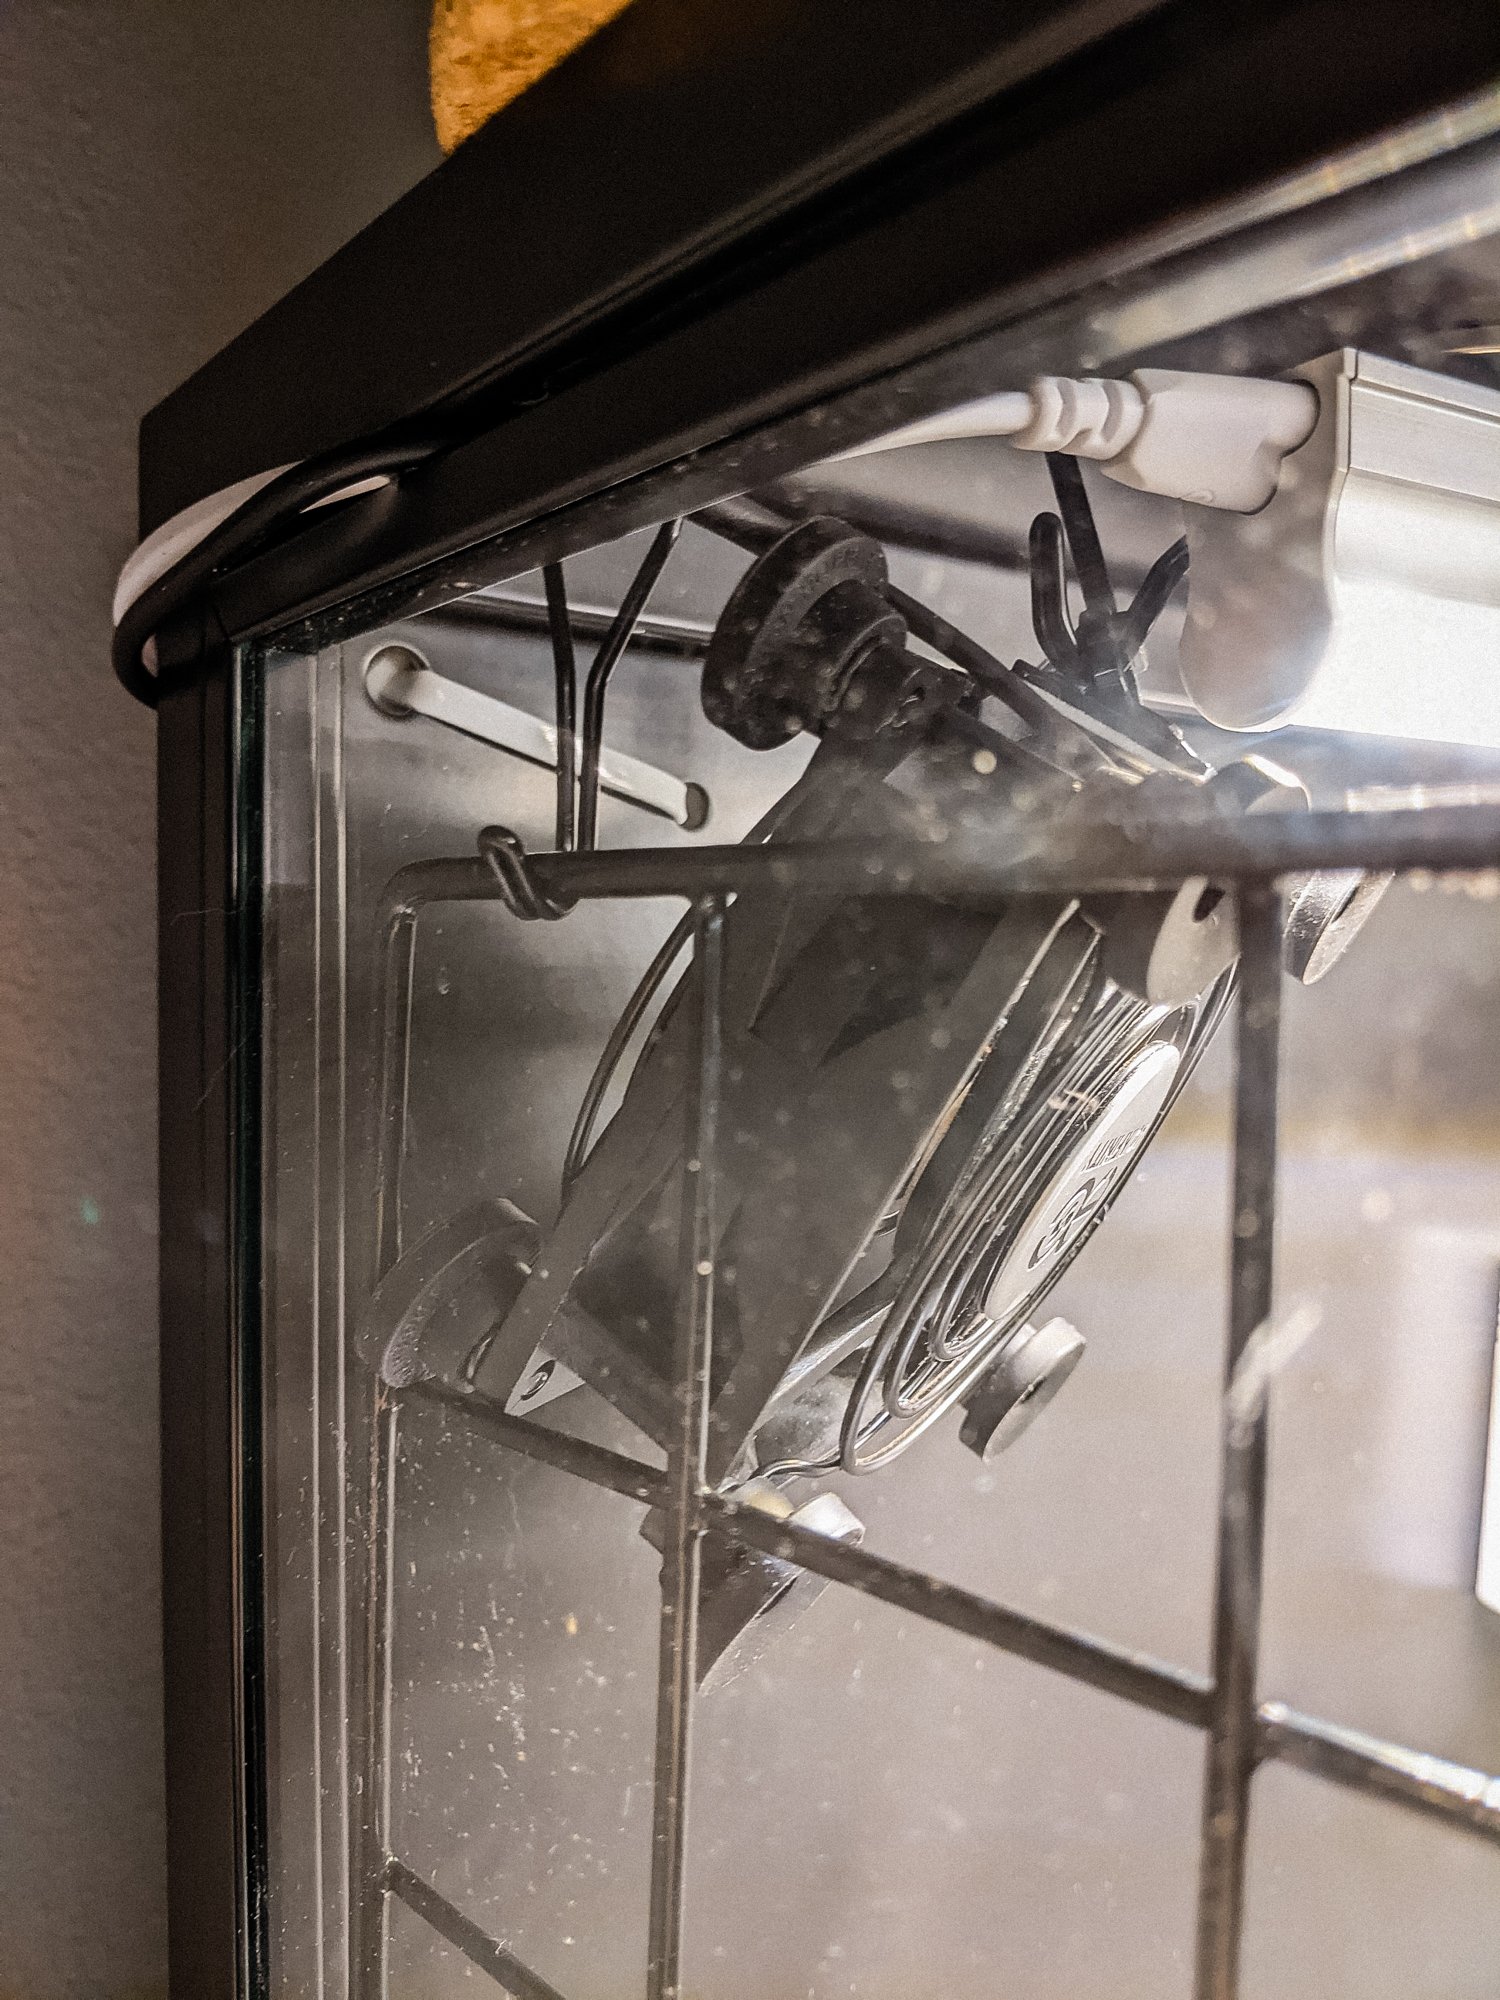
The two photos below illustrate how I suspended my fan from the top of the cabinet using a zip tie, zip tie mount and magnetic hook, and also how I was able to thread the cables for the fan and the lights through a small gap in the weather-stripping:
Lighting
It was a challenge to find decent LED grow lights that would fit the RUDSTA tall. There are a lot of cheap grow lights on Amazon, but hardly any of them were the size I needed, and even fewer listed details about their respective PAR value (Photosynthetic Active Radiation) or PPFD levels (Photosynthetic Photon Flux Density). Don't know what those words mean? Don't worry about it. Just know that you're going to need to understand how much light your plants need, and how much light your grow lights can give off. I used Carnivero's helpful genera-specific light recommendation guide to determine what light level I needed, then looked for lights with corresponding outputs. Below is the PAR/PPFD value chart for the grow lights I purchased:

Note that this chart shows the values for both 1 light and an 8-pack of lights; I am only using 2 inside my Rudsta. According to Carnivero's recommendations, the types of tropical plants that I grow in my cabinet need between 50-250 µmol/m²/s (micromole per square meter per second). PPFD is additive, so with two lights at the top of the cabinet and plants kept 8 to 20 inches away, my plants receive between 62-180 µmol/m²/s. This is supplemented with natural light as well, as my cabinet is in a room with large south-facing windows that stays bright throughout the day.
(Side note: A µmol, or micromole, is a unit of measurement for photons of light. Other units of measurement for light are lux and footcandles, which you can read more about here. Things start getting a bit complicated when you factor in all the math, conversions, and scientific terms related to light measurement, so I will leave it to you to do further research on the subject if it interests you. A great place to start would be this in-depth post by herebutnot.)
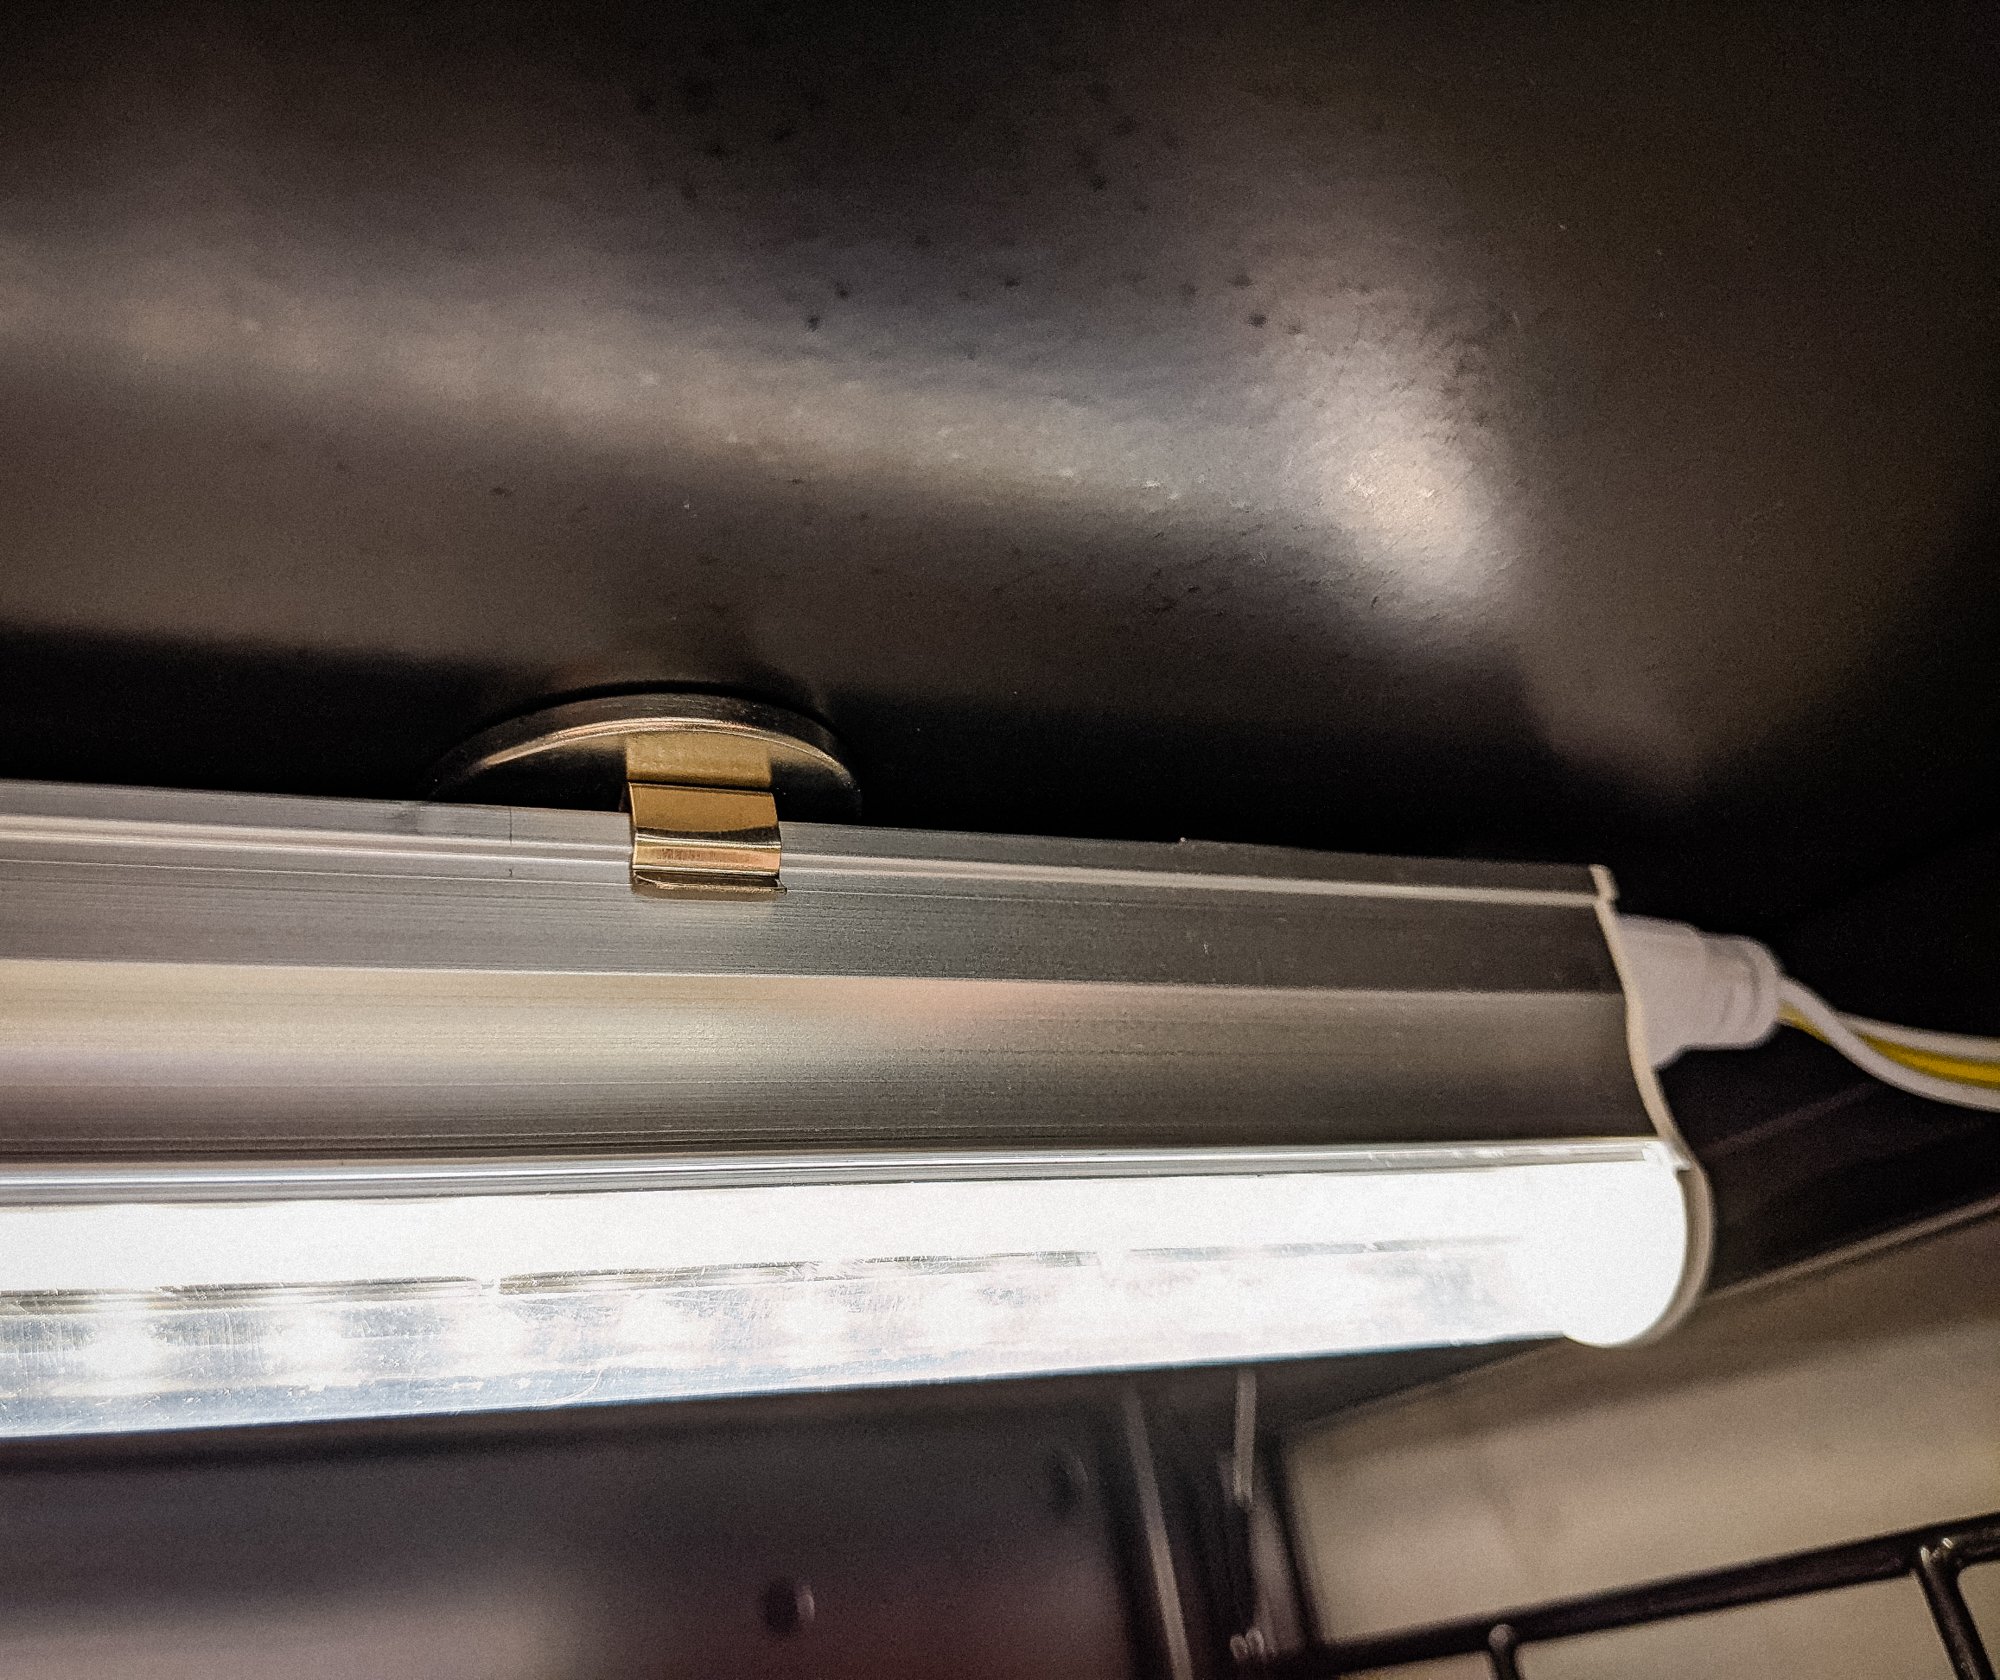
To hang the grow lights, I simply put a few disc magnets on the ceiling of the cabinet, and stuck the lights to them. The grow lights have metal clamps you can attach to them to make it possible to screw them into something, but the clamps also make great little magnet anchors.
Cable Management & Automation
My cable management isn't very sophisticated, but it works. When my husband and I were putting together the cabinet, I left a gap in the weather-stripping that allowed just enough space for the fan and light cables to fit through at the top. There are a few pre-fab holes in the back of the cabinet which were too small to run cables through, but worked great as a place to anchor the cords with a zip tie.
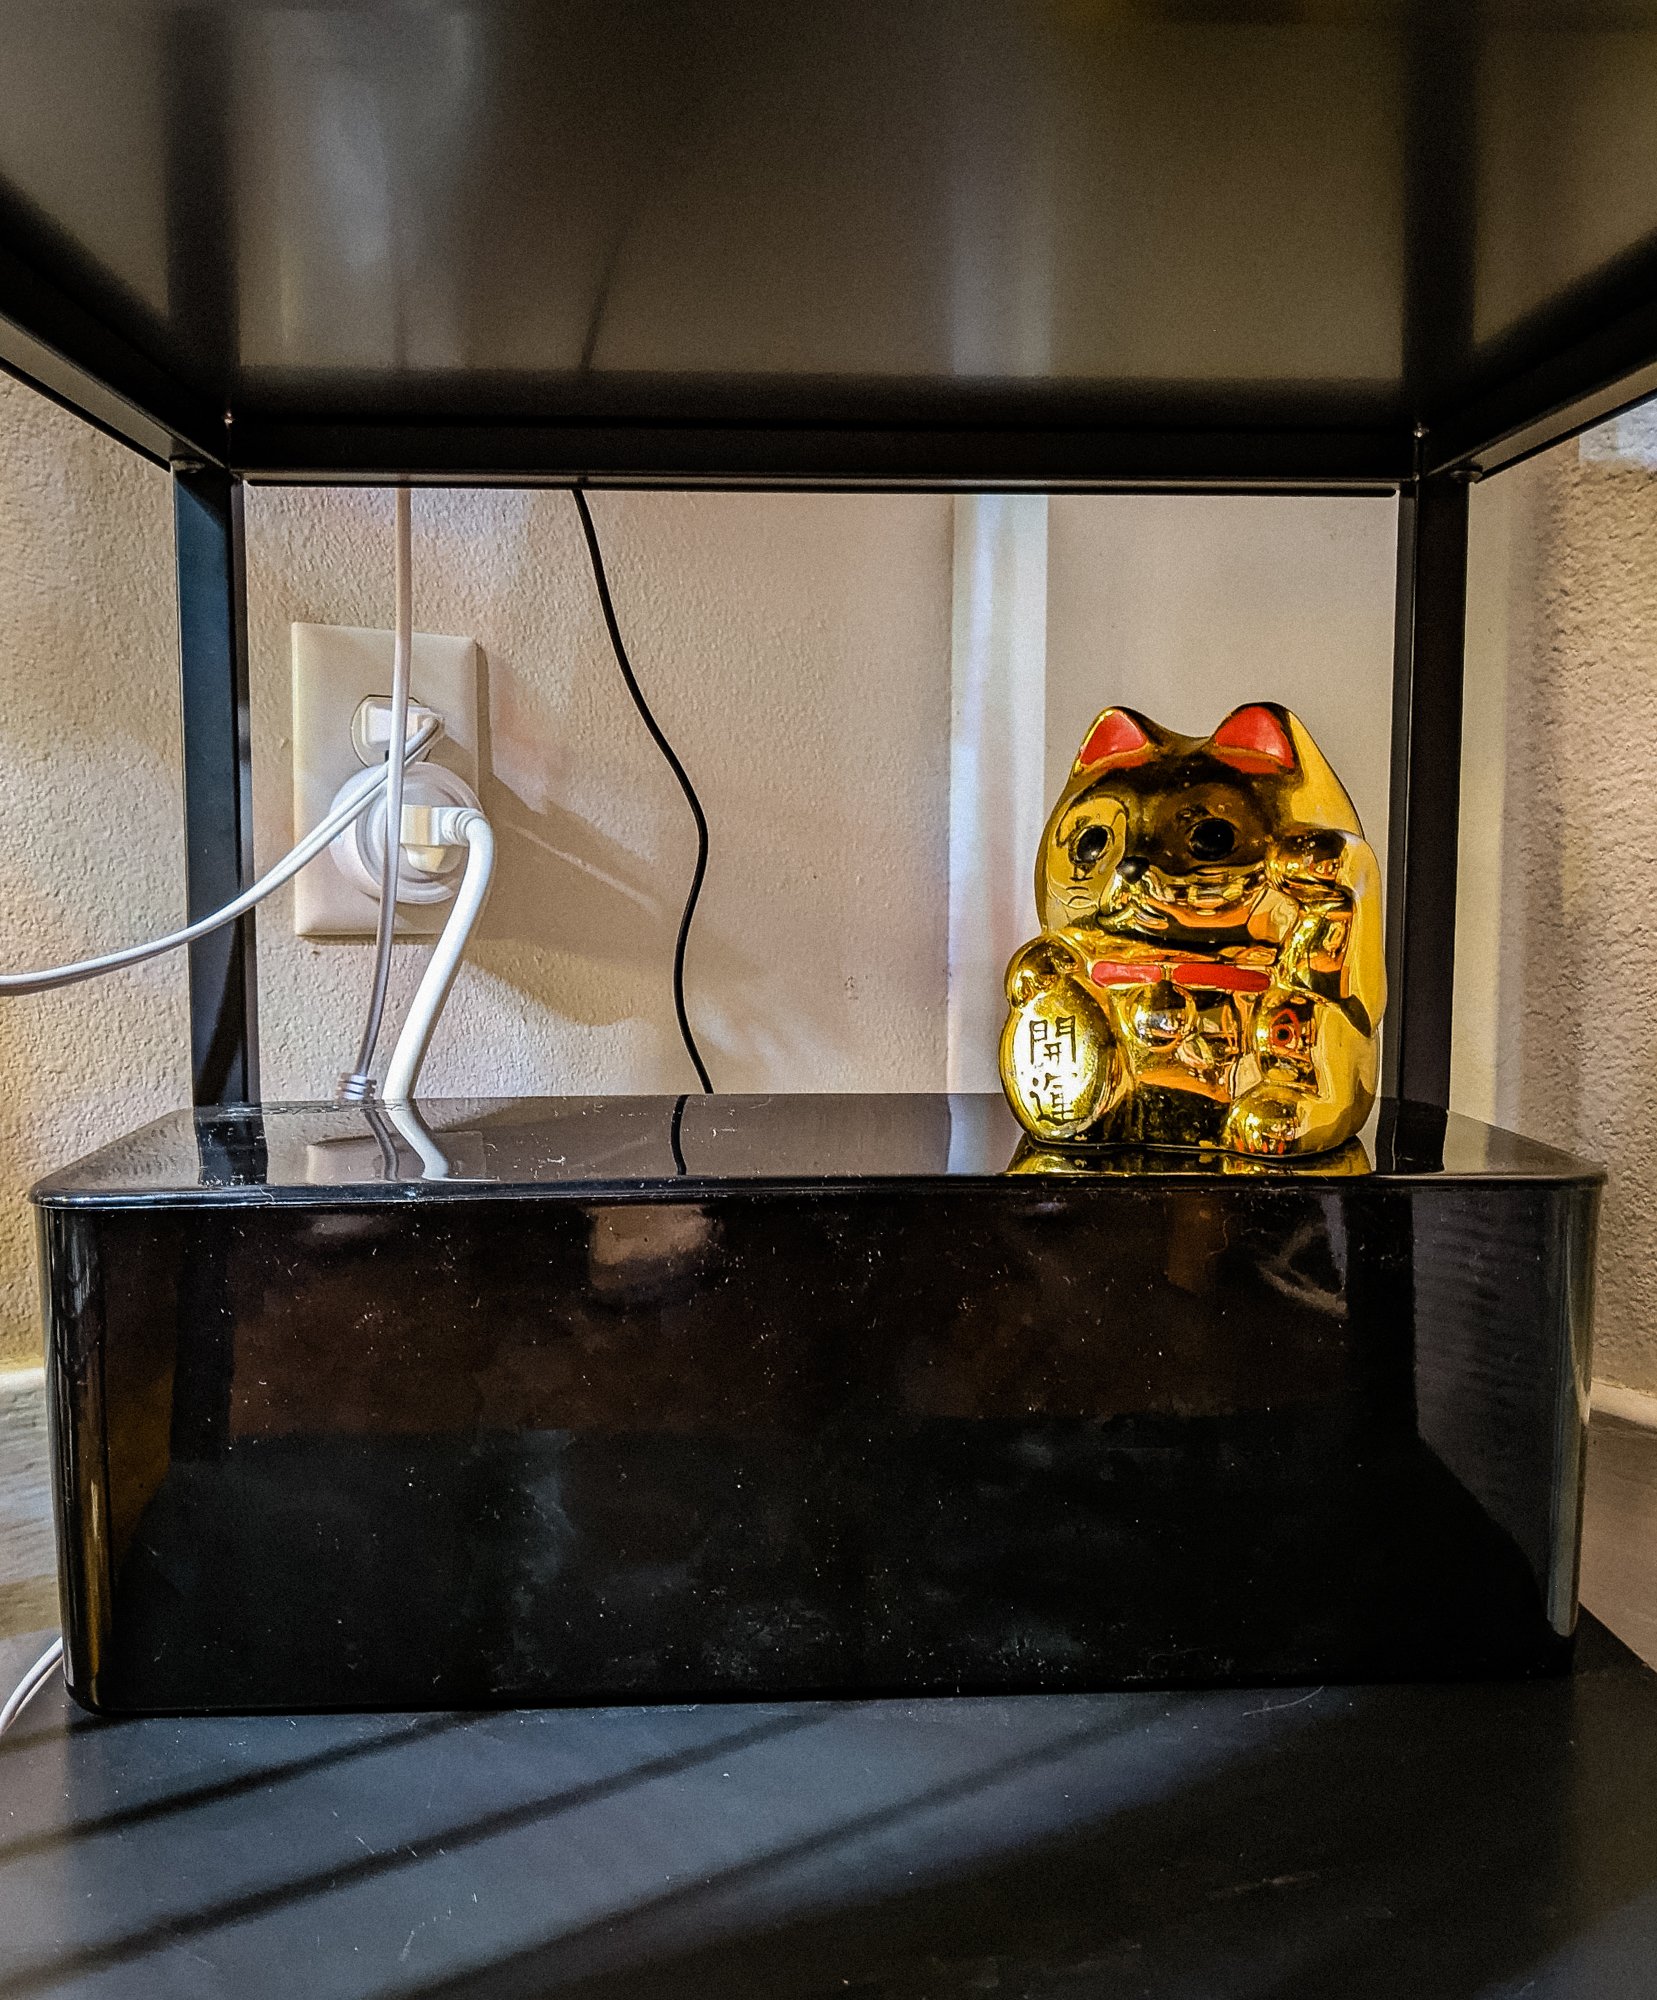
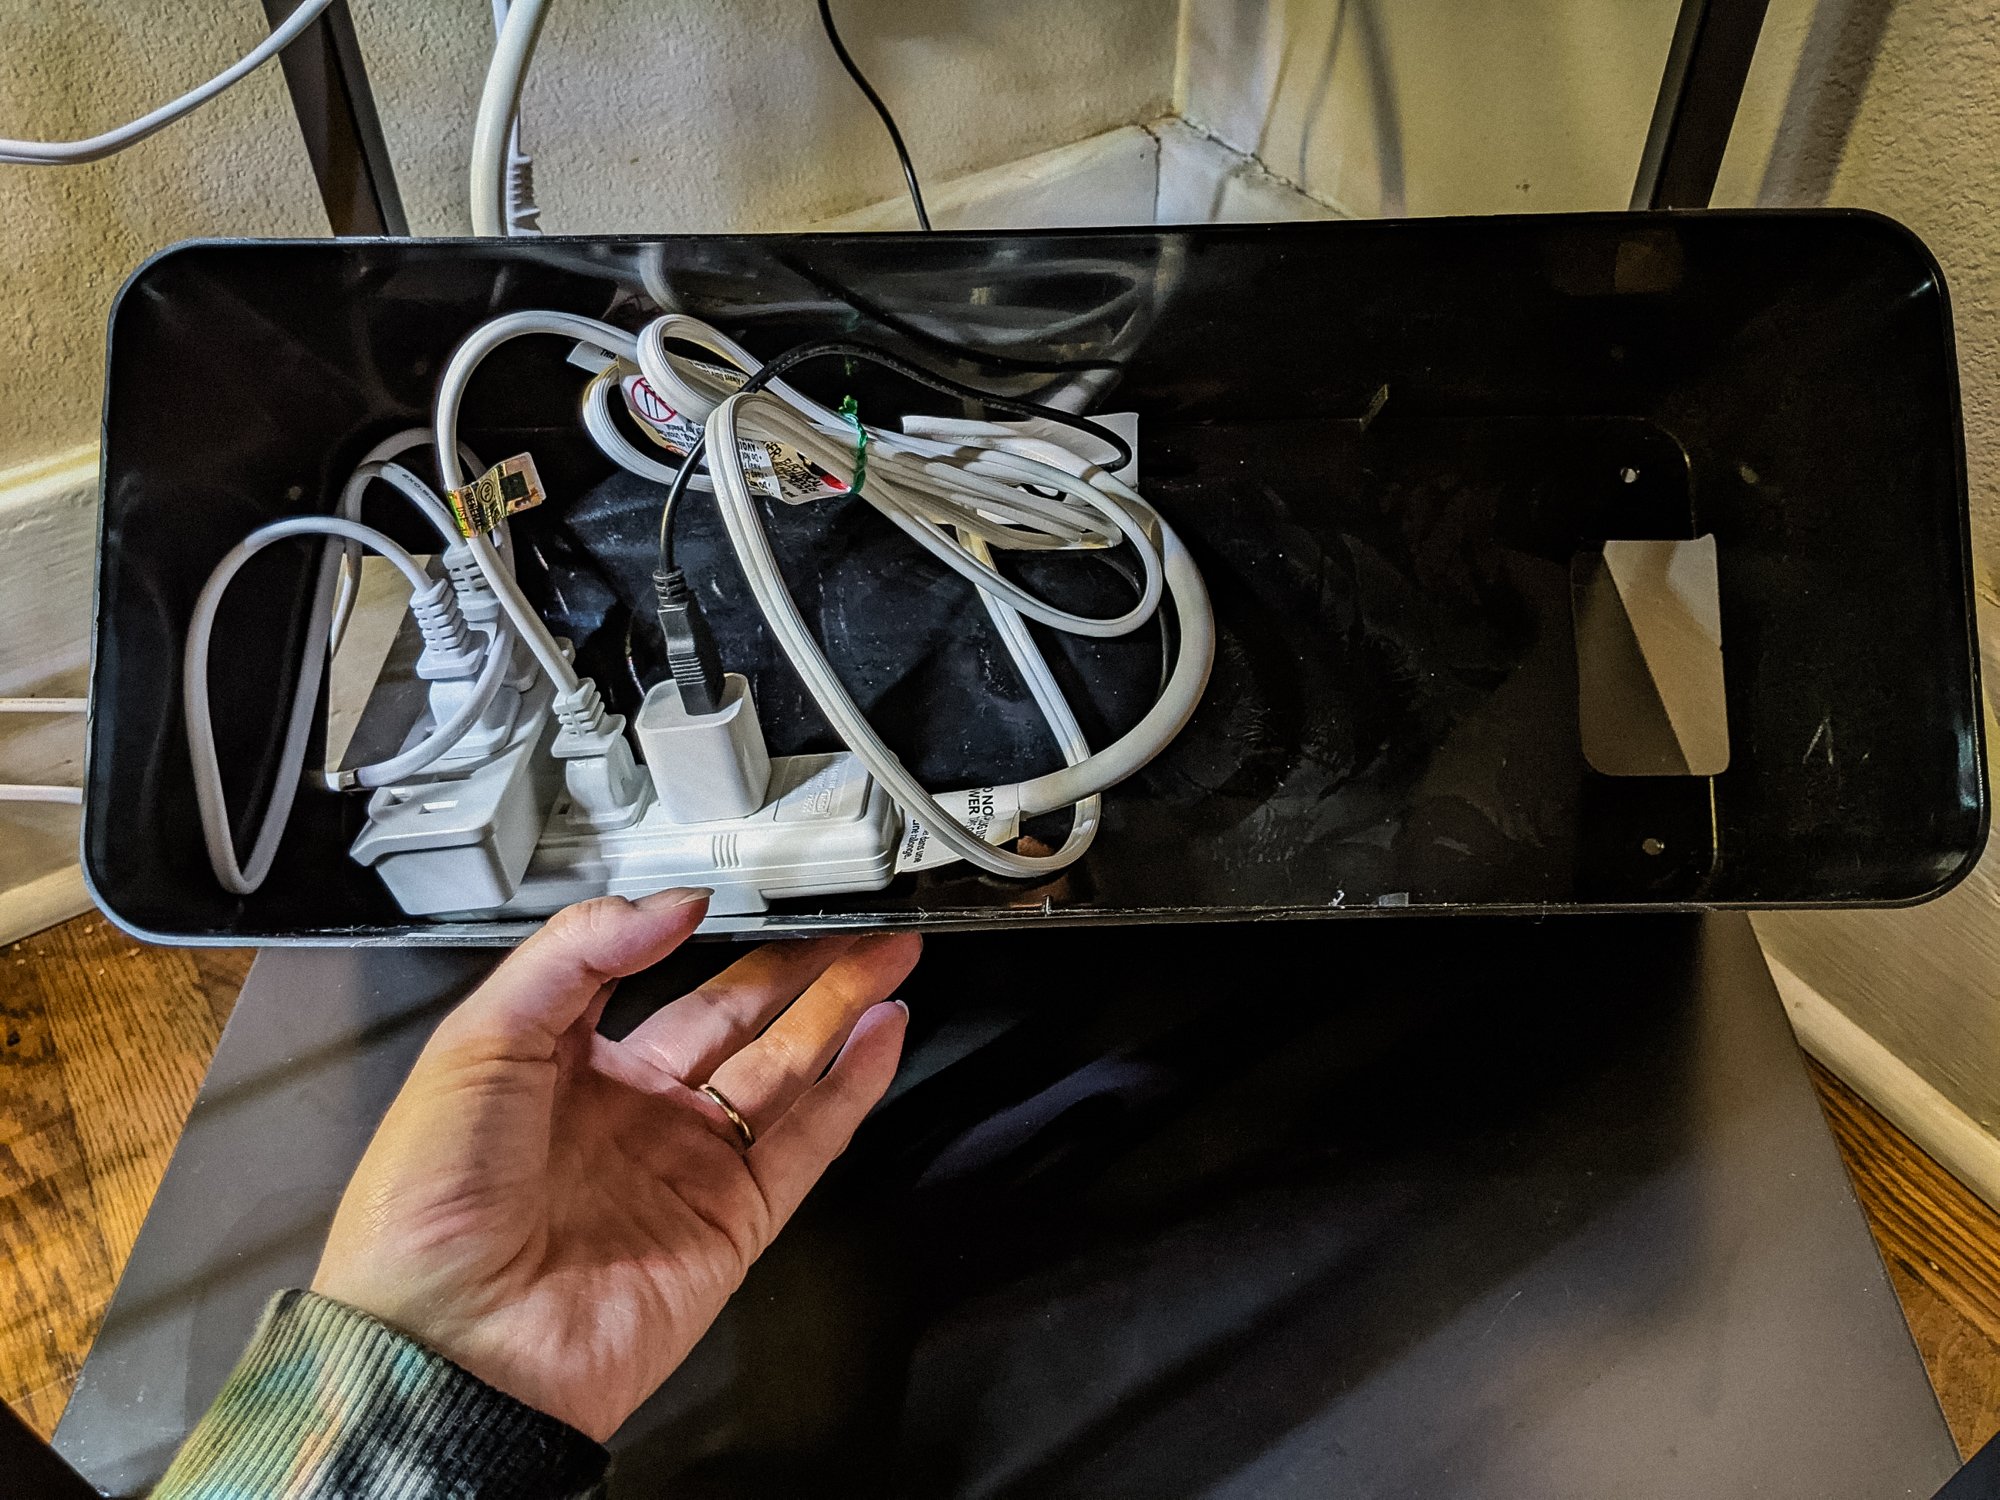
At the bottom, in the open part of the cabinet, is the power strip where everything is plugged into. I put the whole jumble of plugs and cords into a sleek cable management box, so we don't have to see the mess ;) Here's a view of the closed box and a look at what's going on inside the box:
Note that I also have the power strip plugged into a smart plug on the wall. Since we were on the "smart house" train anyway (smart light bulbs, smart plugs, smart thermostat), it just made sense to incorporate the cabinet system into that. So now, the whole system is programmed to turn on and off at set times, and I can control it remotely from my phone if I'm away. Neat!
Organization
The RUDSTA tall is relatively small, so I found that I needed to be as efficient with the interior space as possible. Extraneous shelves and risers actually took away from the available area for plants, so I have the cabinet organization narrowed down to just a few (optional) items.

Wire grid panels: I hung these on either side of the cabinet, suspended by a magnetic hooks from the top. At first I had some plants zip-tied to the grids, but found them hard to water, so for now these grids support trailing vines of a micans philodendron and one other small shelf.
Hanging wire shelf: This little shelf hangs from one of the grids and for now, it's where my small hoyas and orchid live.
Acrylic shelves: You can definitely use the square glass shelves that come with the cabinet, but I found that these custom acrylic ones improved airflow and allowed me to utilize the space more efficiently. The angled shape allows room for taller plants or hanging plants, which is nice.
Final Thoughts
Would I hack another Ikea cabinet if I wanted another greenhouse? Honestly-- no, probably not. The metal and glass cabinets are aesthetically pleasing, but they just weren't intended to be efficient greenhouses. And of course, my plant collection has outgrown the narrow RUDSTA tall. I'm still glad I took on this project, because my sensitive plants needed somewhere to go in the cooler months, and to be fair I don't think my husband would have allowed anything bigger or more industrial-looking live in our dining room. :) But I'm very interested in investing in an actual outdoor greenhouse like this or a grow tent like this someday when we have the space!
At the time of writing this (January 2022), I've had the RUDSTA tall greenhouse for almost 6 months. I plan to provide updates on what I've learned after a year, so stay tuned!
If you enjoyed this post, please share it with other plant-loving friends! And if you have questions, comment below and I'll try to answer them. Thanks for reading!